How to Make a Cat Mat
If your cats are anything like mine, they don’t want anything to do with a regular cat bed (the box it came in is always preferable) but sometimes you want to provide something a little more comfortable for your furry friend, and that is where a cat mat comes in. Not a formal bed, it is a cross between a pillow and a quilt that can be easily moved to help accommodate your cat's rotating nap schedule.
This is the perfect project to make from scrap material, and to try out some new piecing and quilting techniques. (Your furry friend won’t be critical and will be deeply appreciative of anything with lots of texture.) I like to use wool, flannel or denim for these projects for two reasons: one, the material tends to be more durable (which is important when dealing with kitty claws), and two, they offer a lot more texture than your traditional quilting cotton.
You will need three pieces of fabric approximately 24” by 18”. One is going to be the bottom of the cat mat, one will be the top of the cat mat (this is a great layer to practice new piecing techniques on) and the third piece is going to be the bottom of the quilted top (this will be encased in the mat so it really can be any material). You will also need a piece of 24” by 18” batting. I find I can usually end up with large enough pieces when I trim down batting for my quilts, or sometimes I will make a frankenbatting to use.
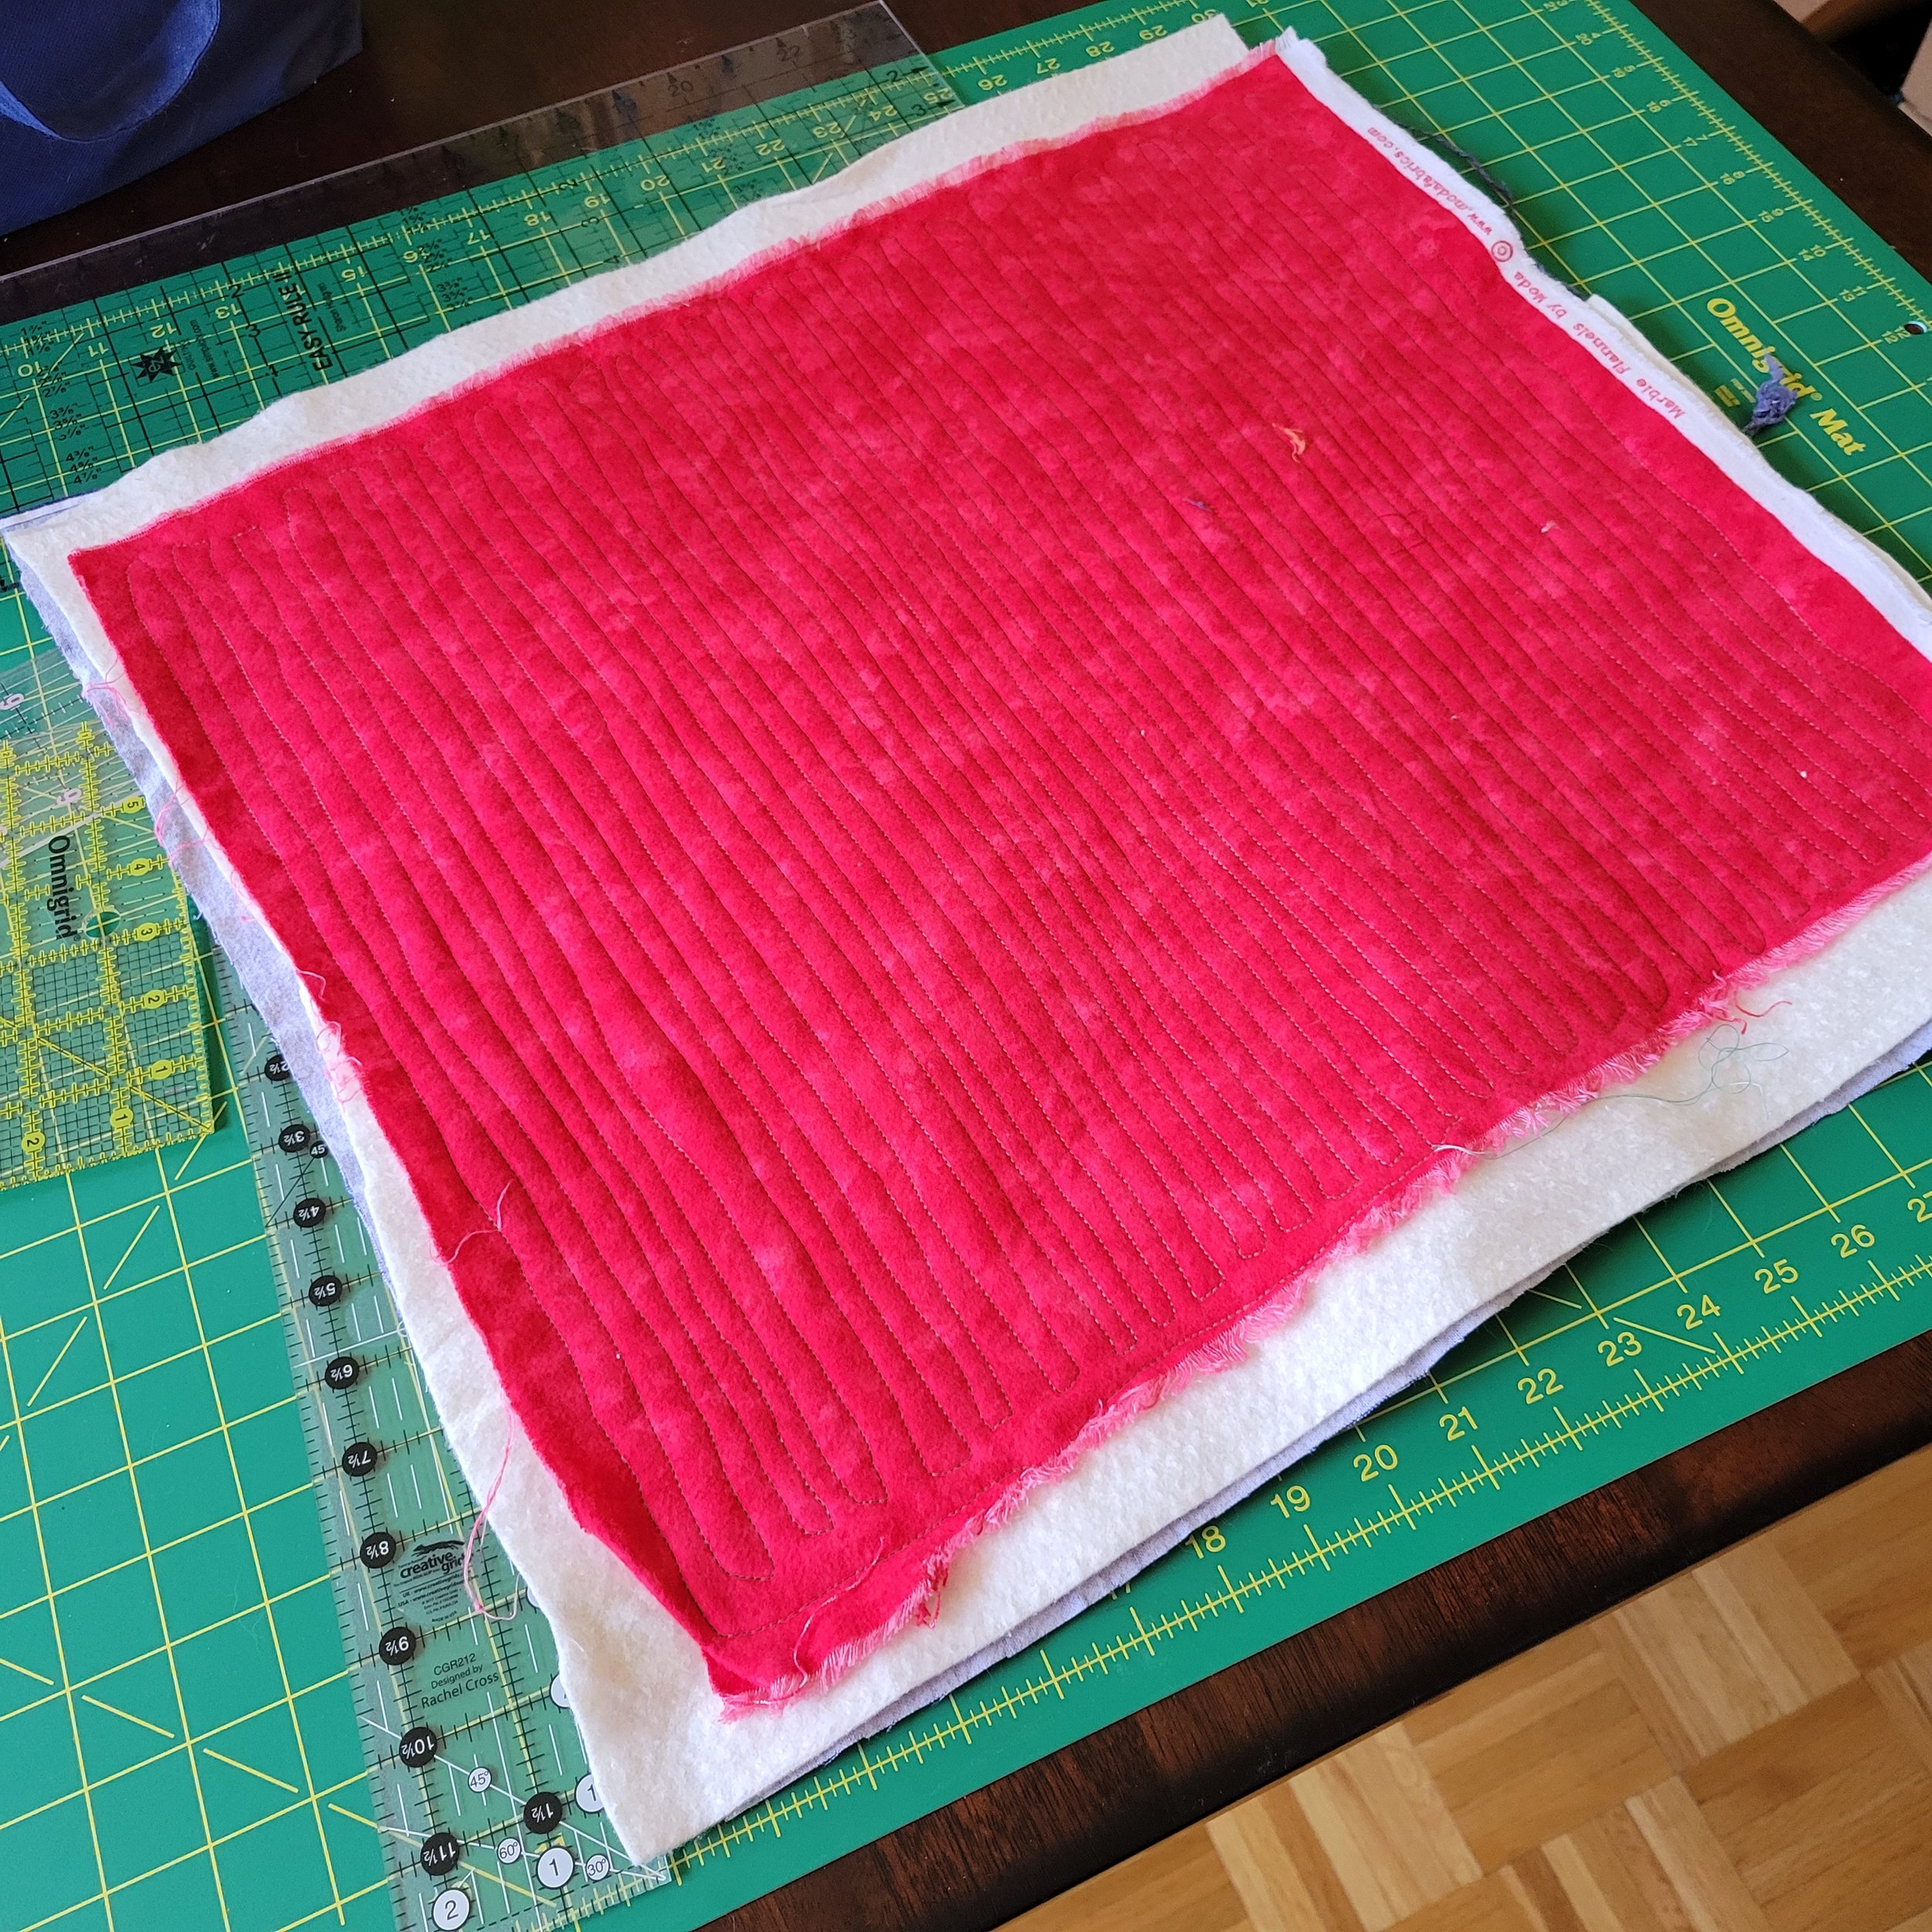
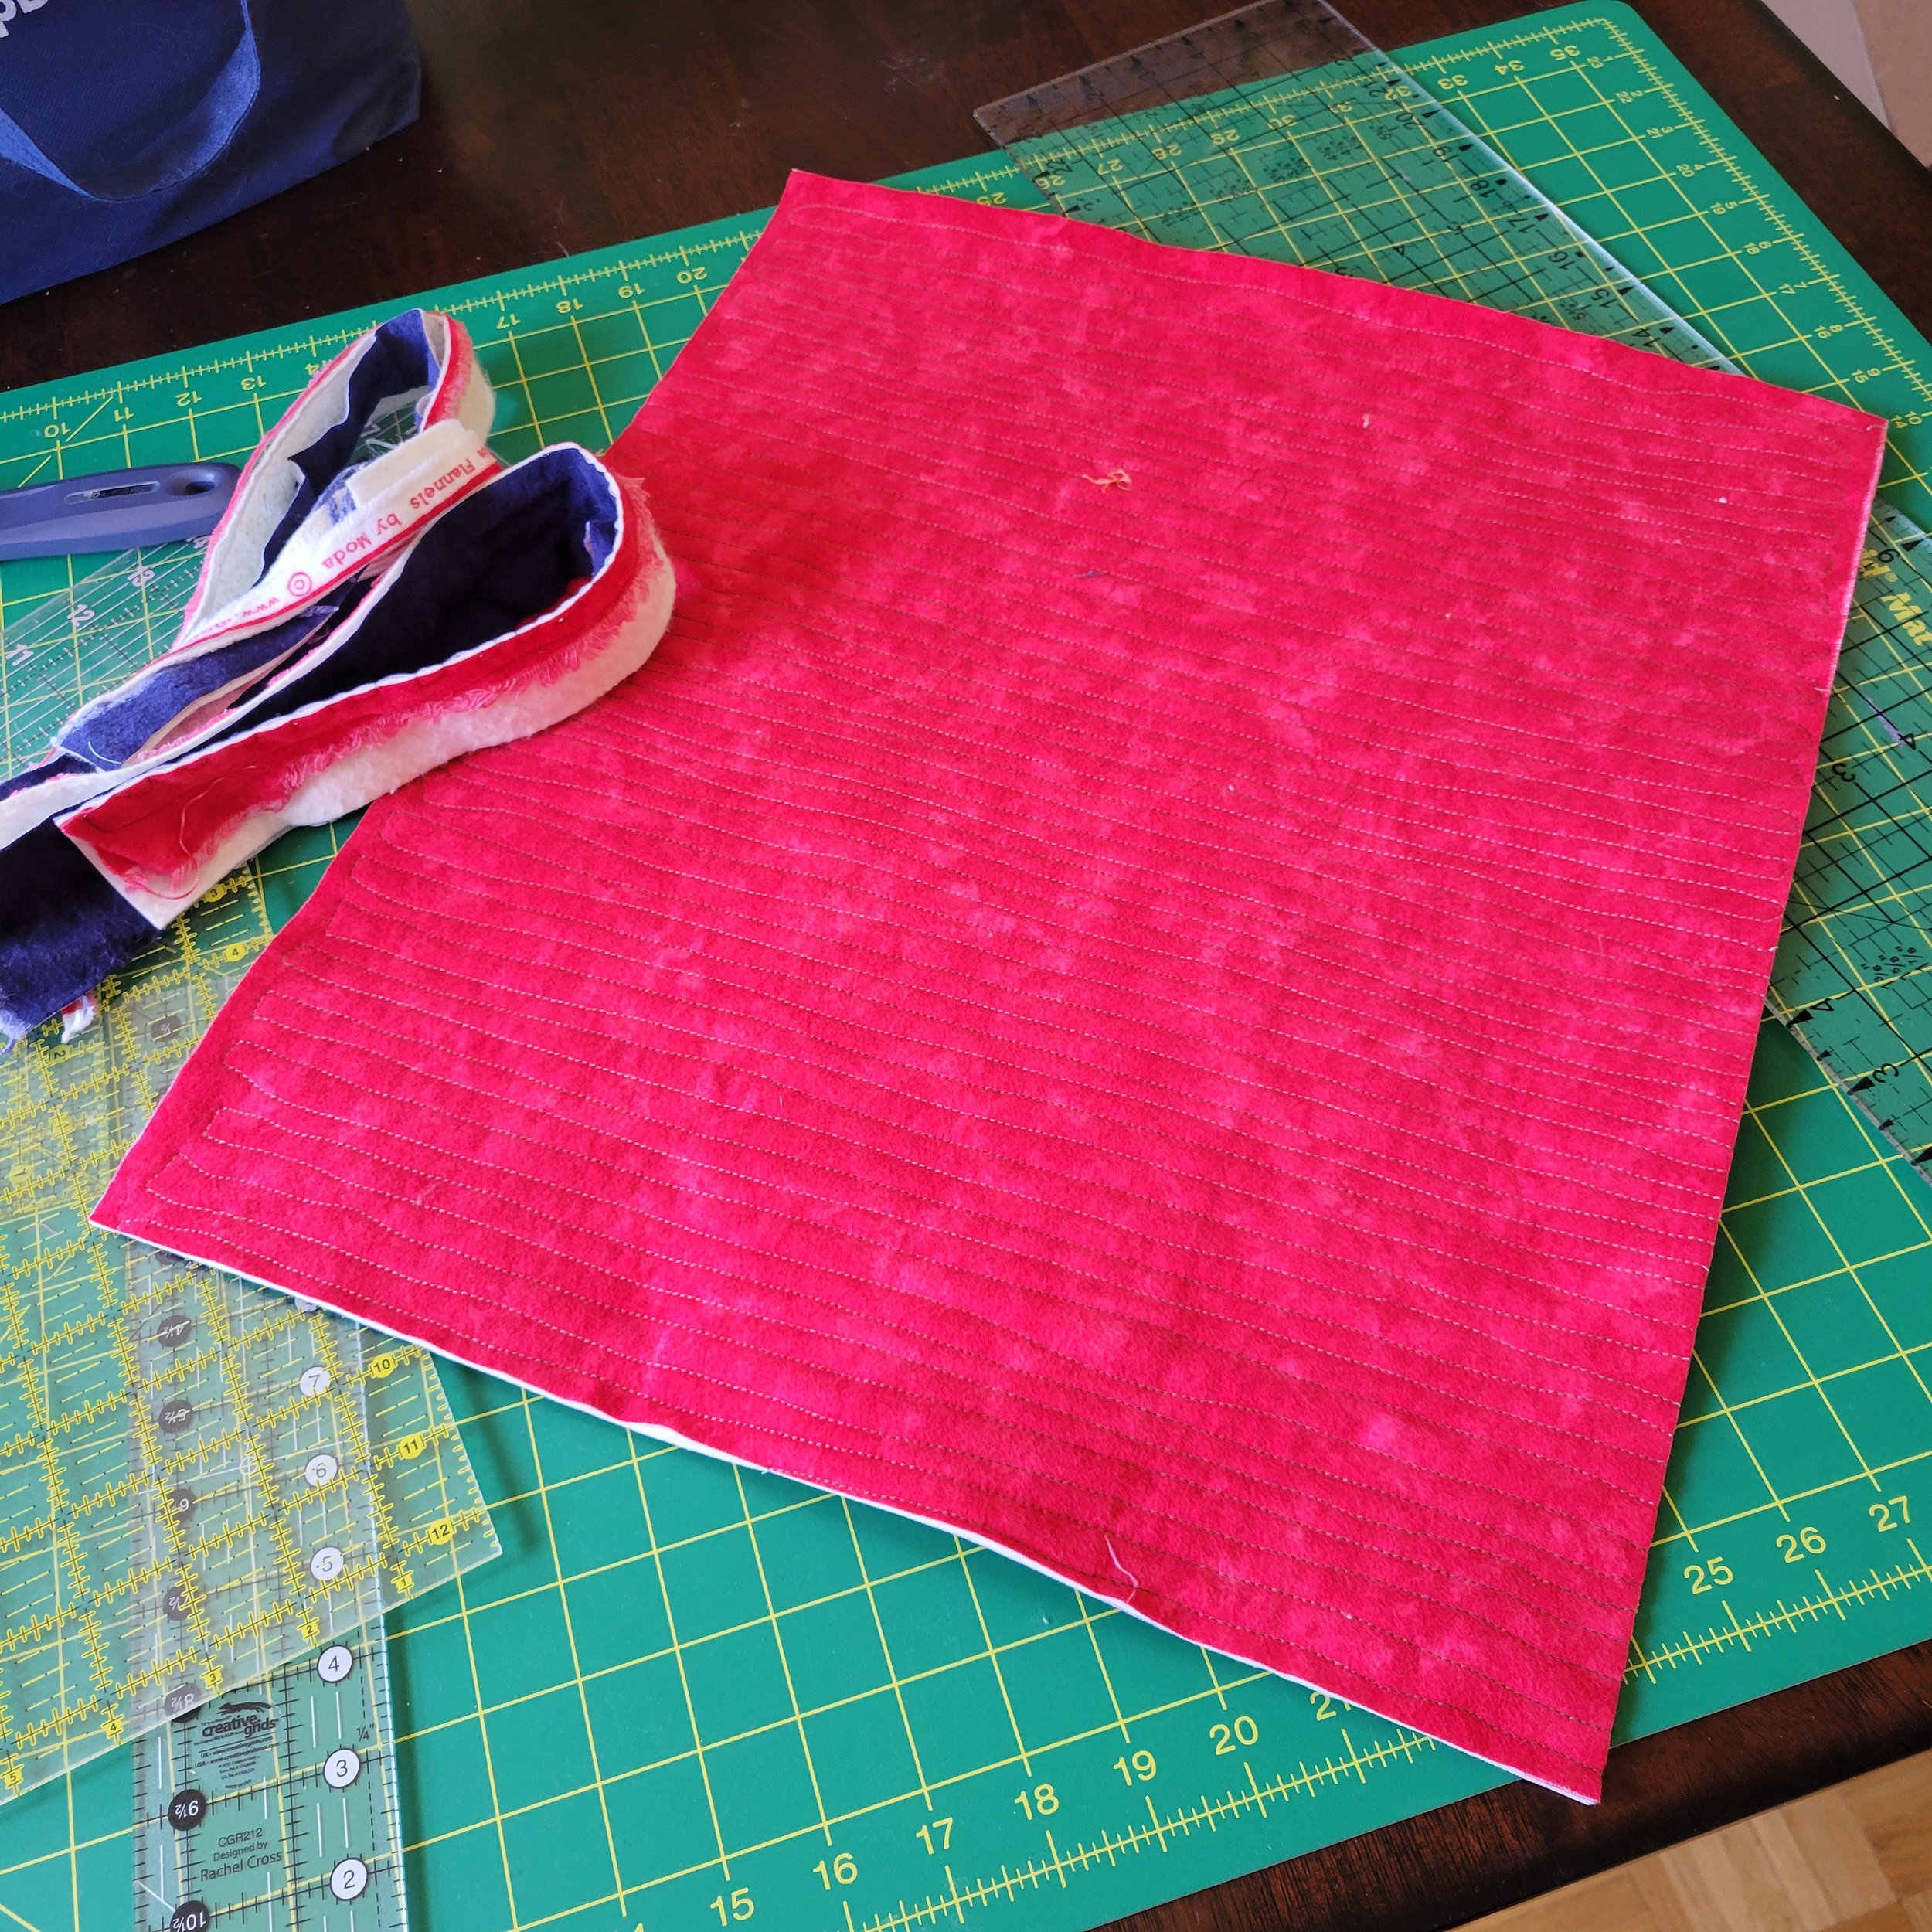
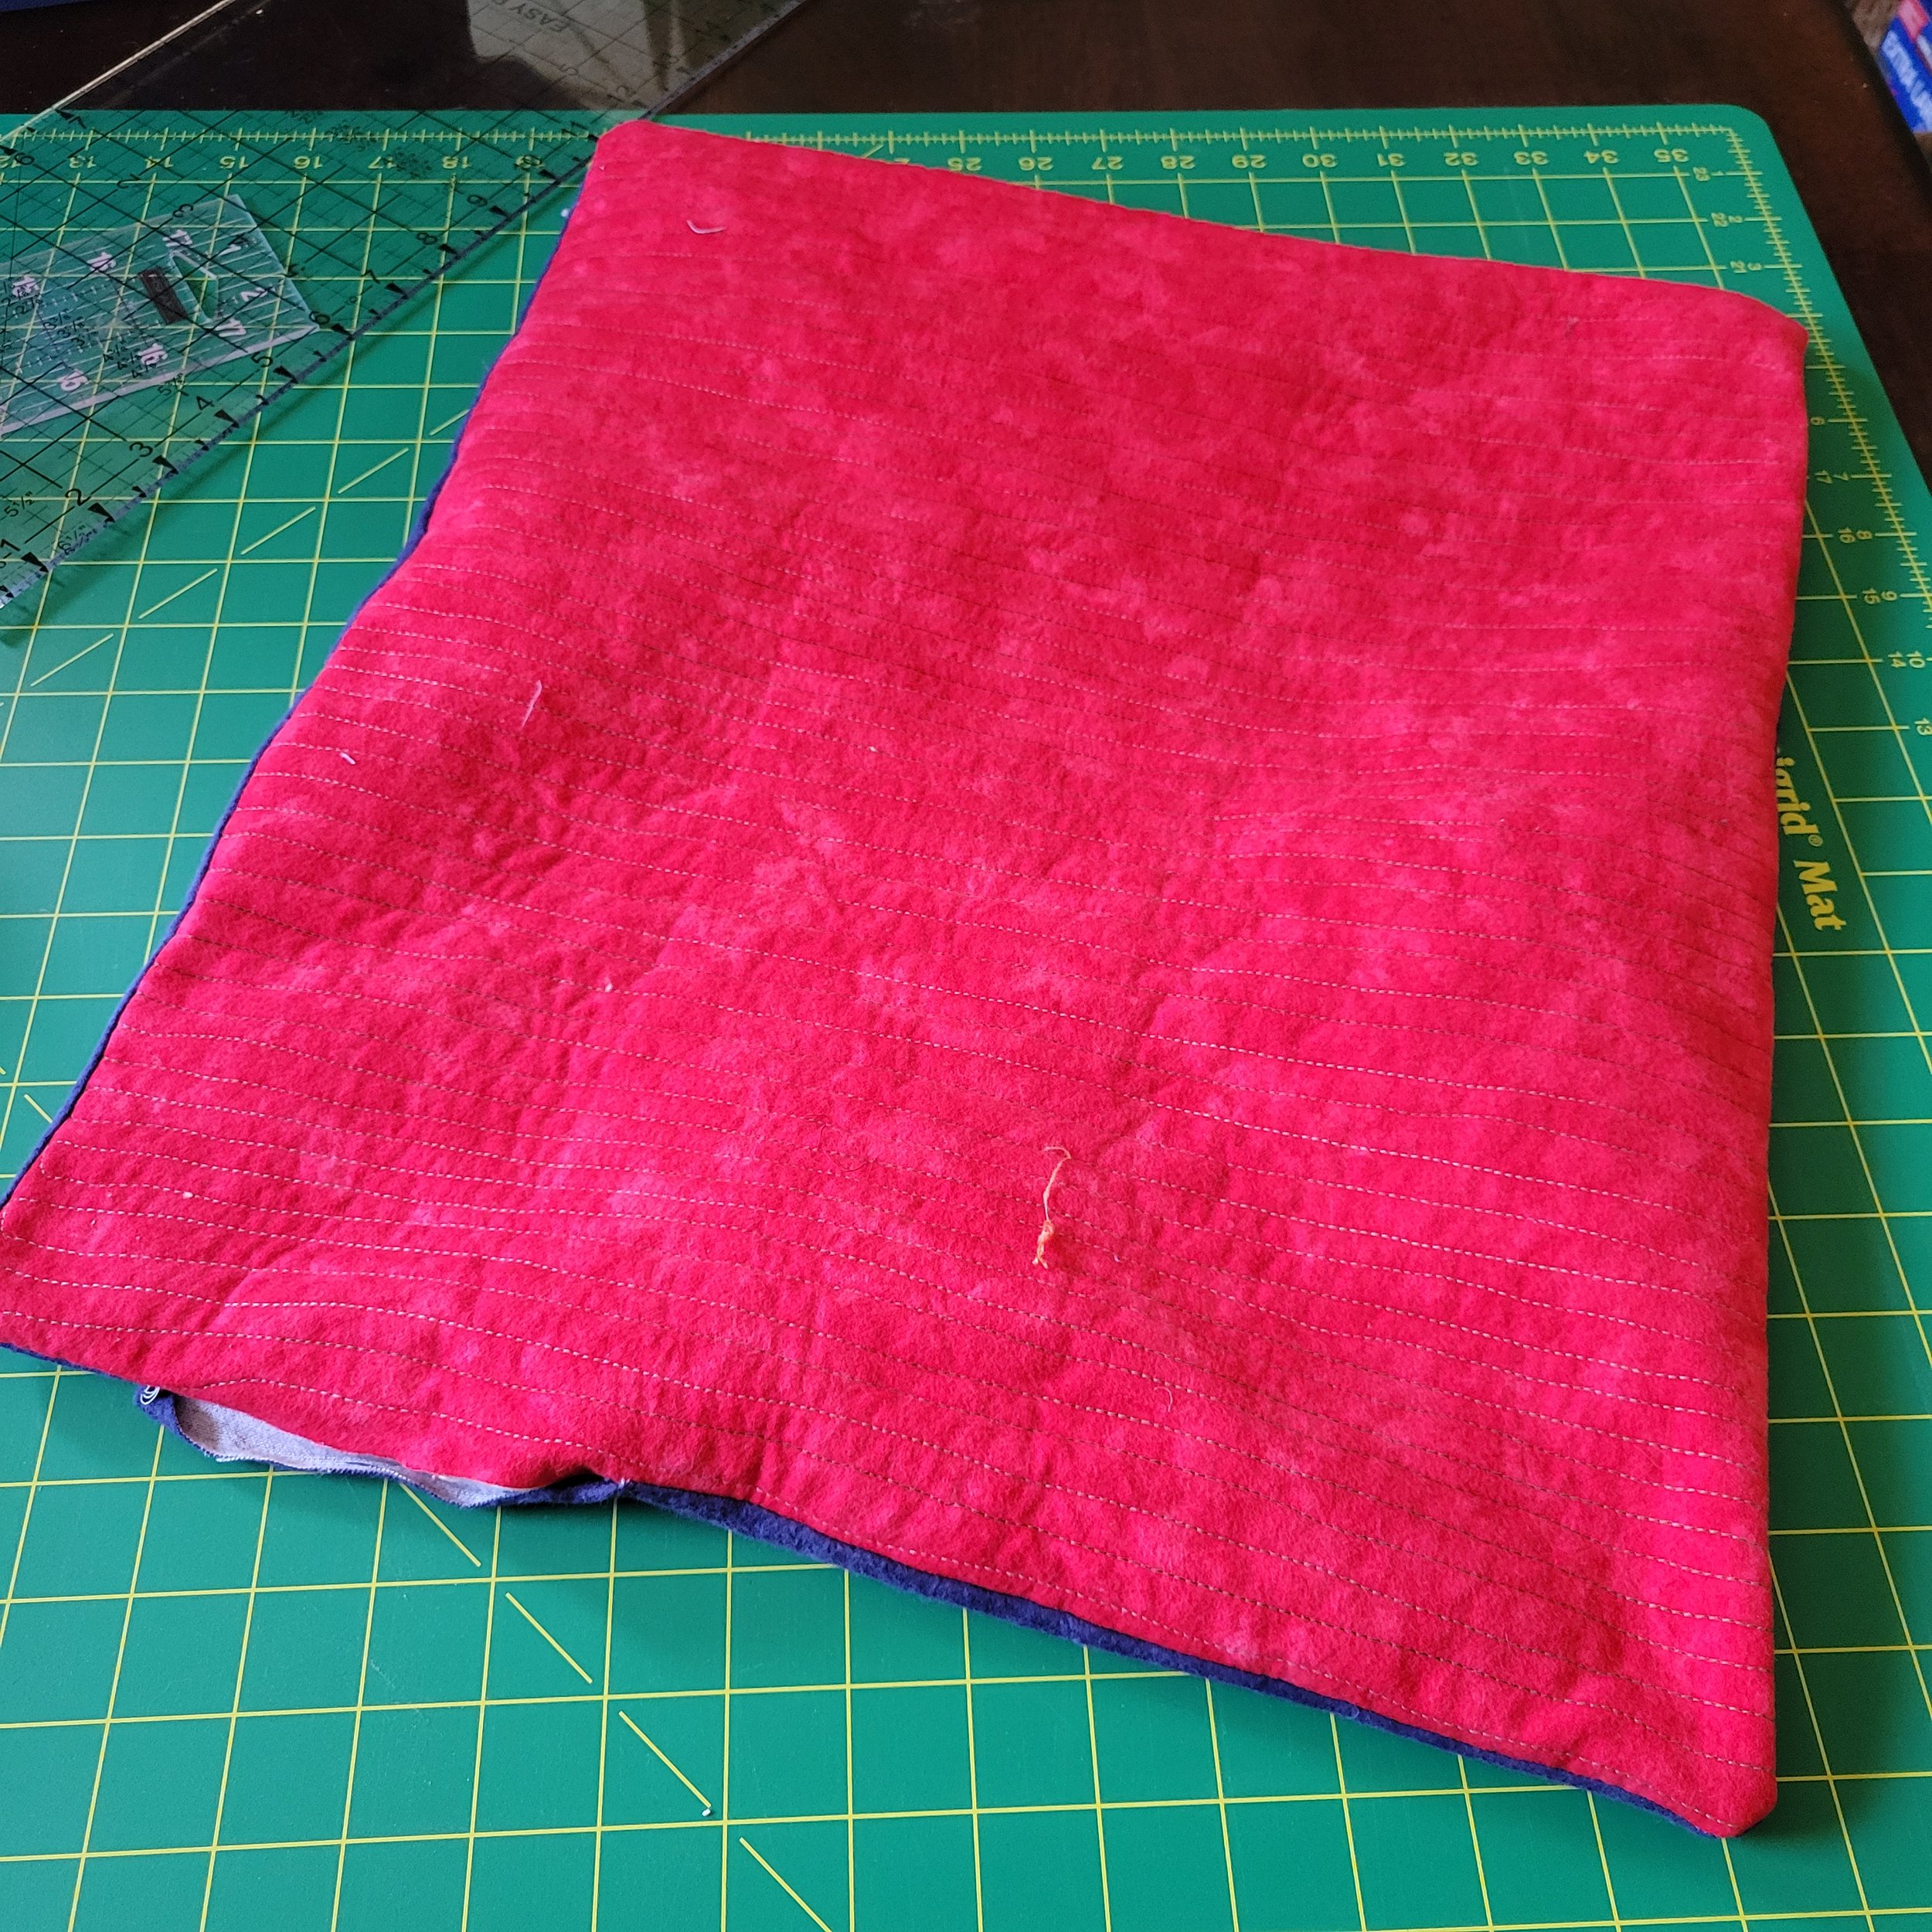
Once you have the top layer cut (and pieced if you are going that route) you will want to make a quilt sandwich and quilt what will be the top of the cat mat. I recommend matchstick quilting- so far it has proved to have the most cat appeal, but any really dense quilt pattern should work well. If you are working with heavy duty denim you may want to skip the quilting step as it could make the material a little too stiff. After you have the quilting finished, make sure you square up the quilted top. Hold on to the edges that are left, you will use them later.
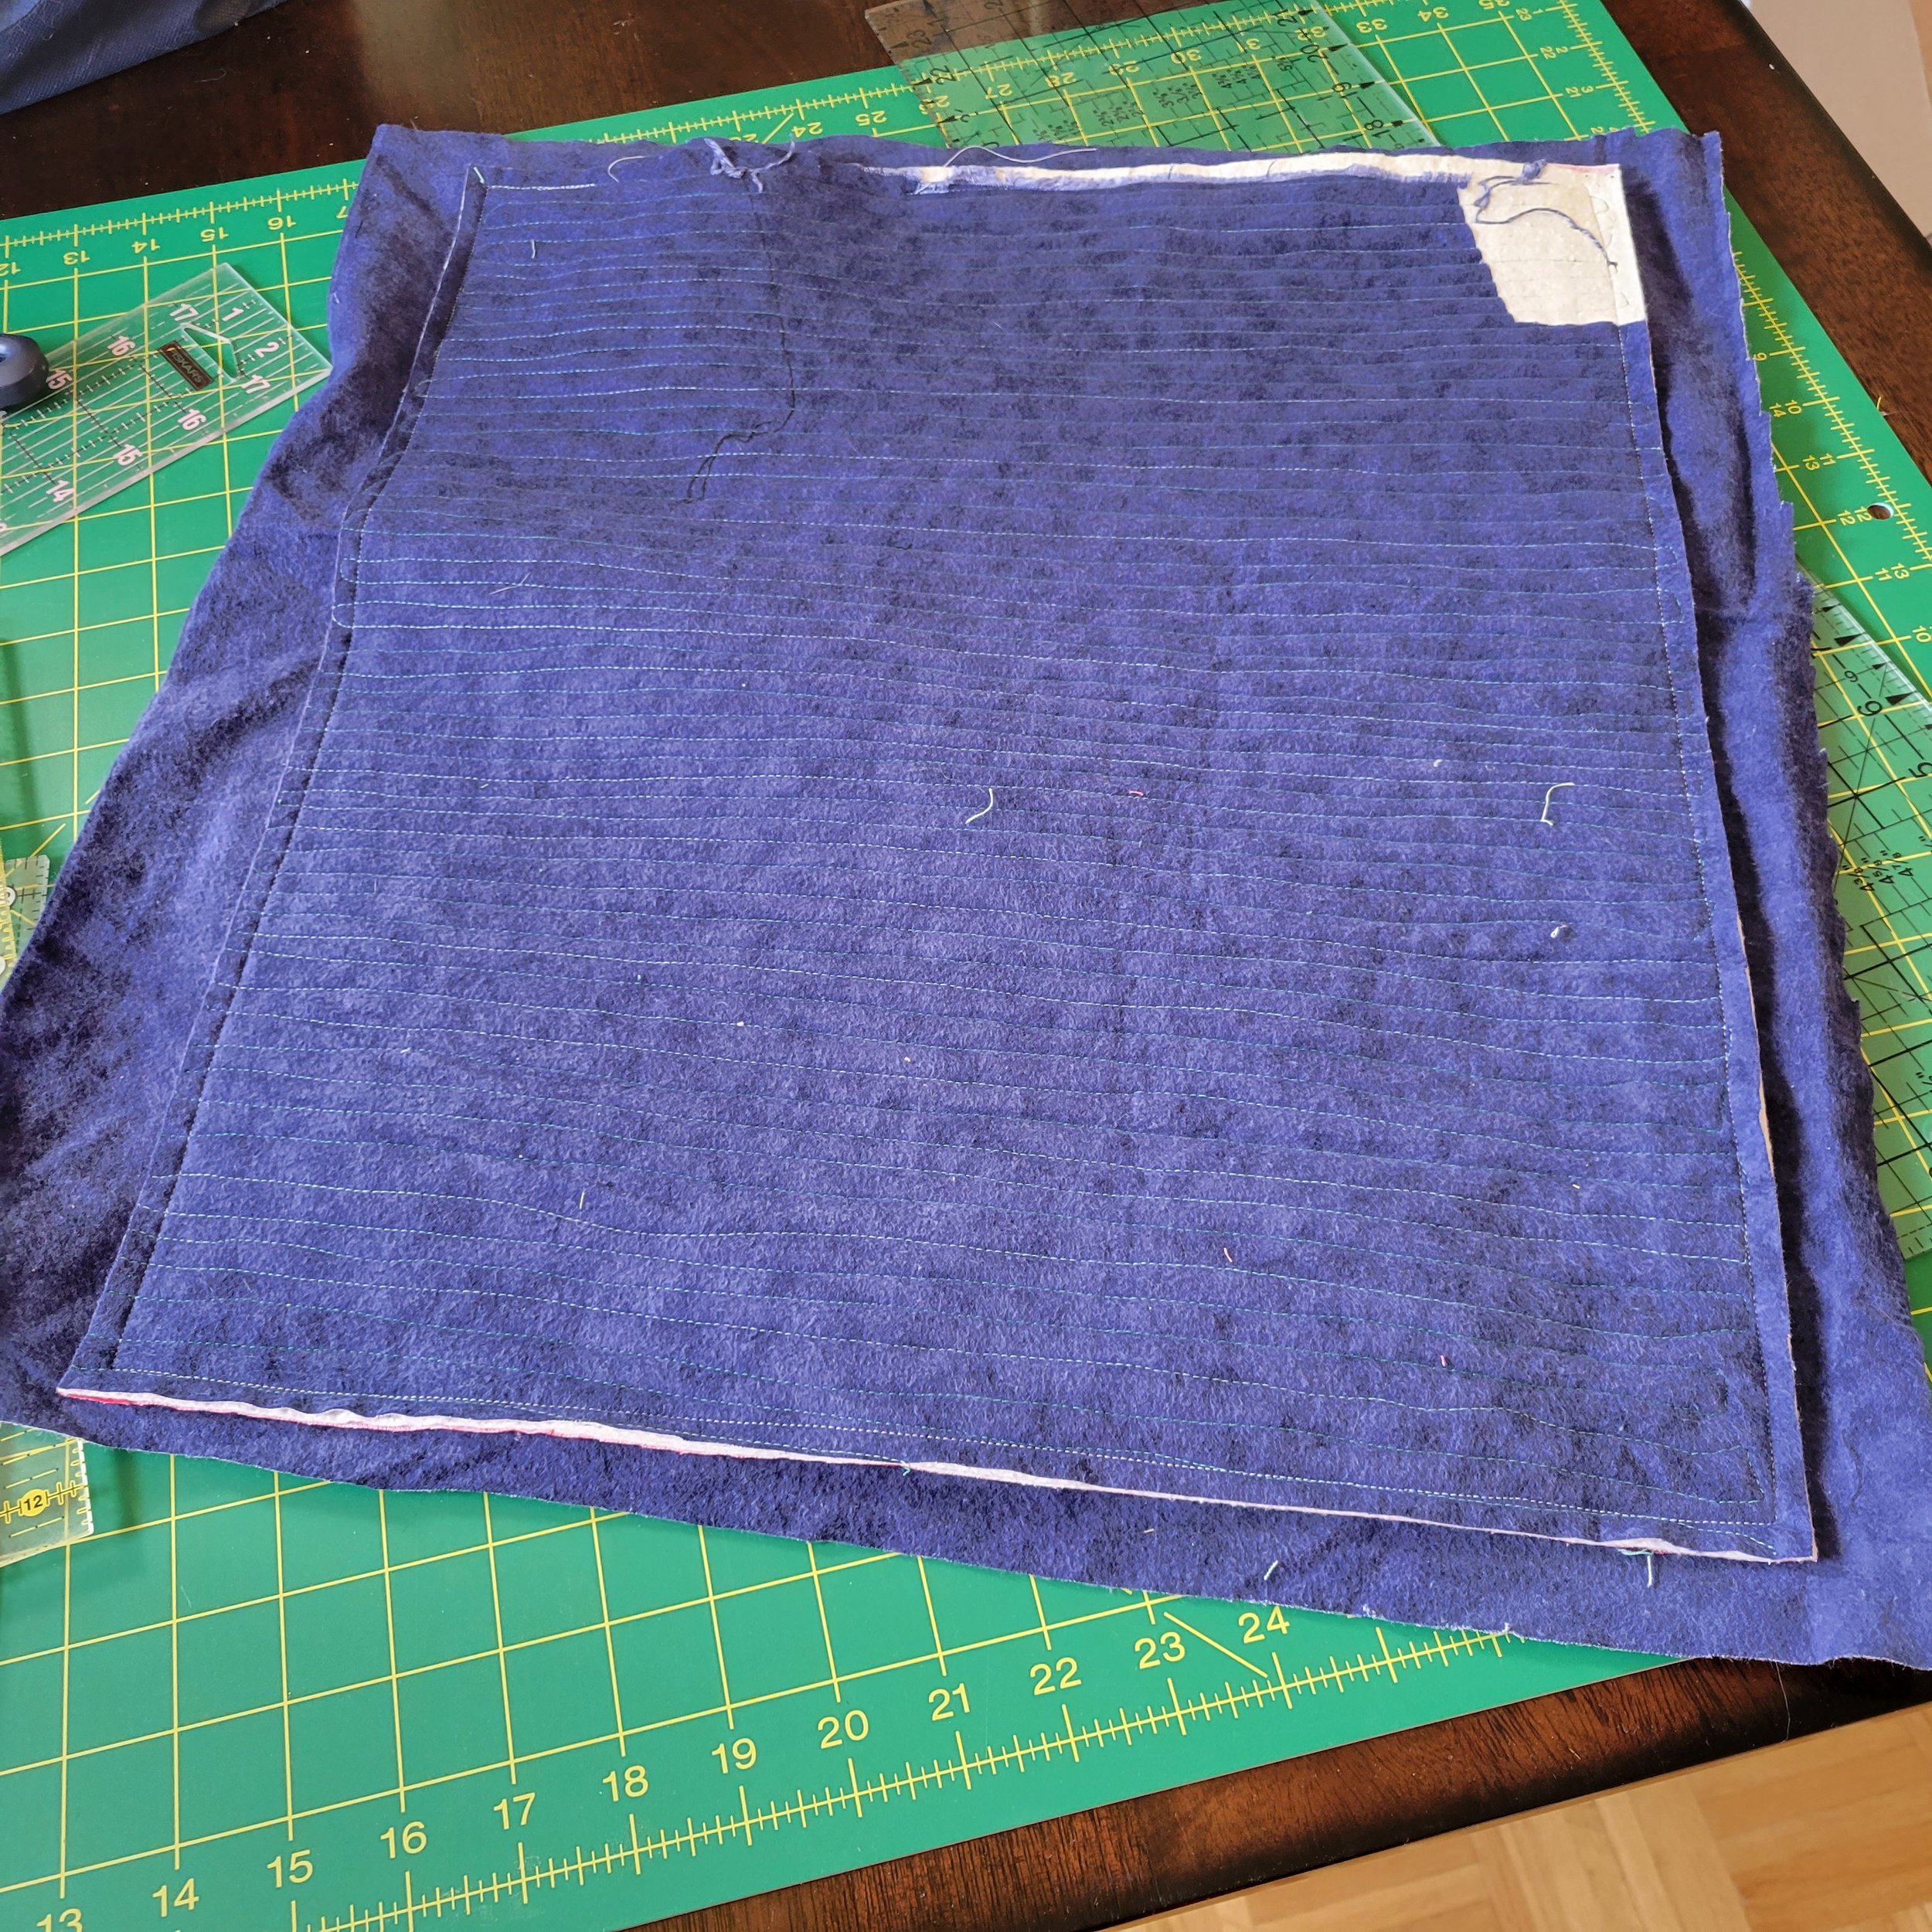
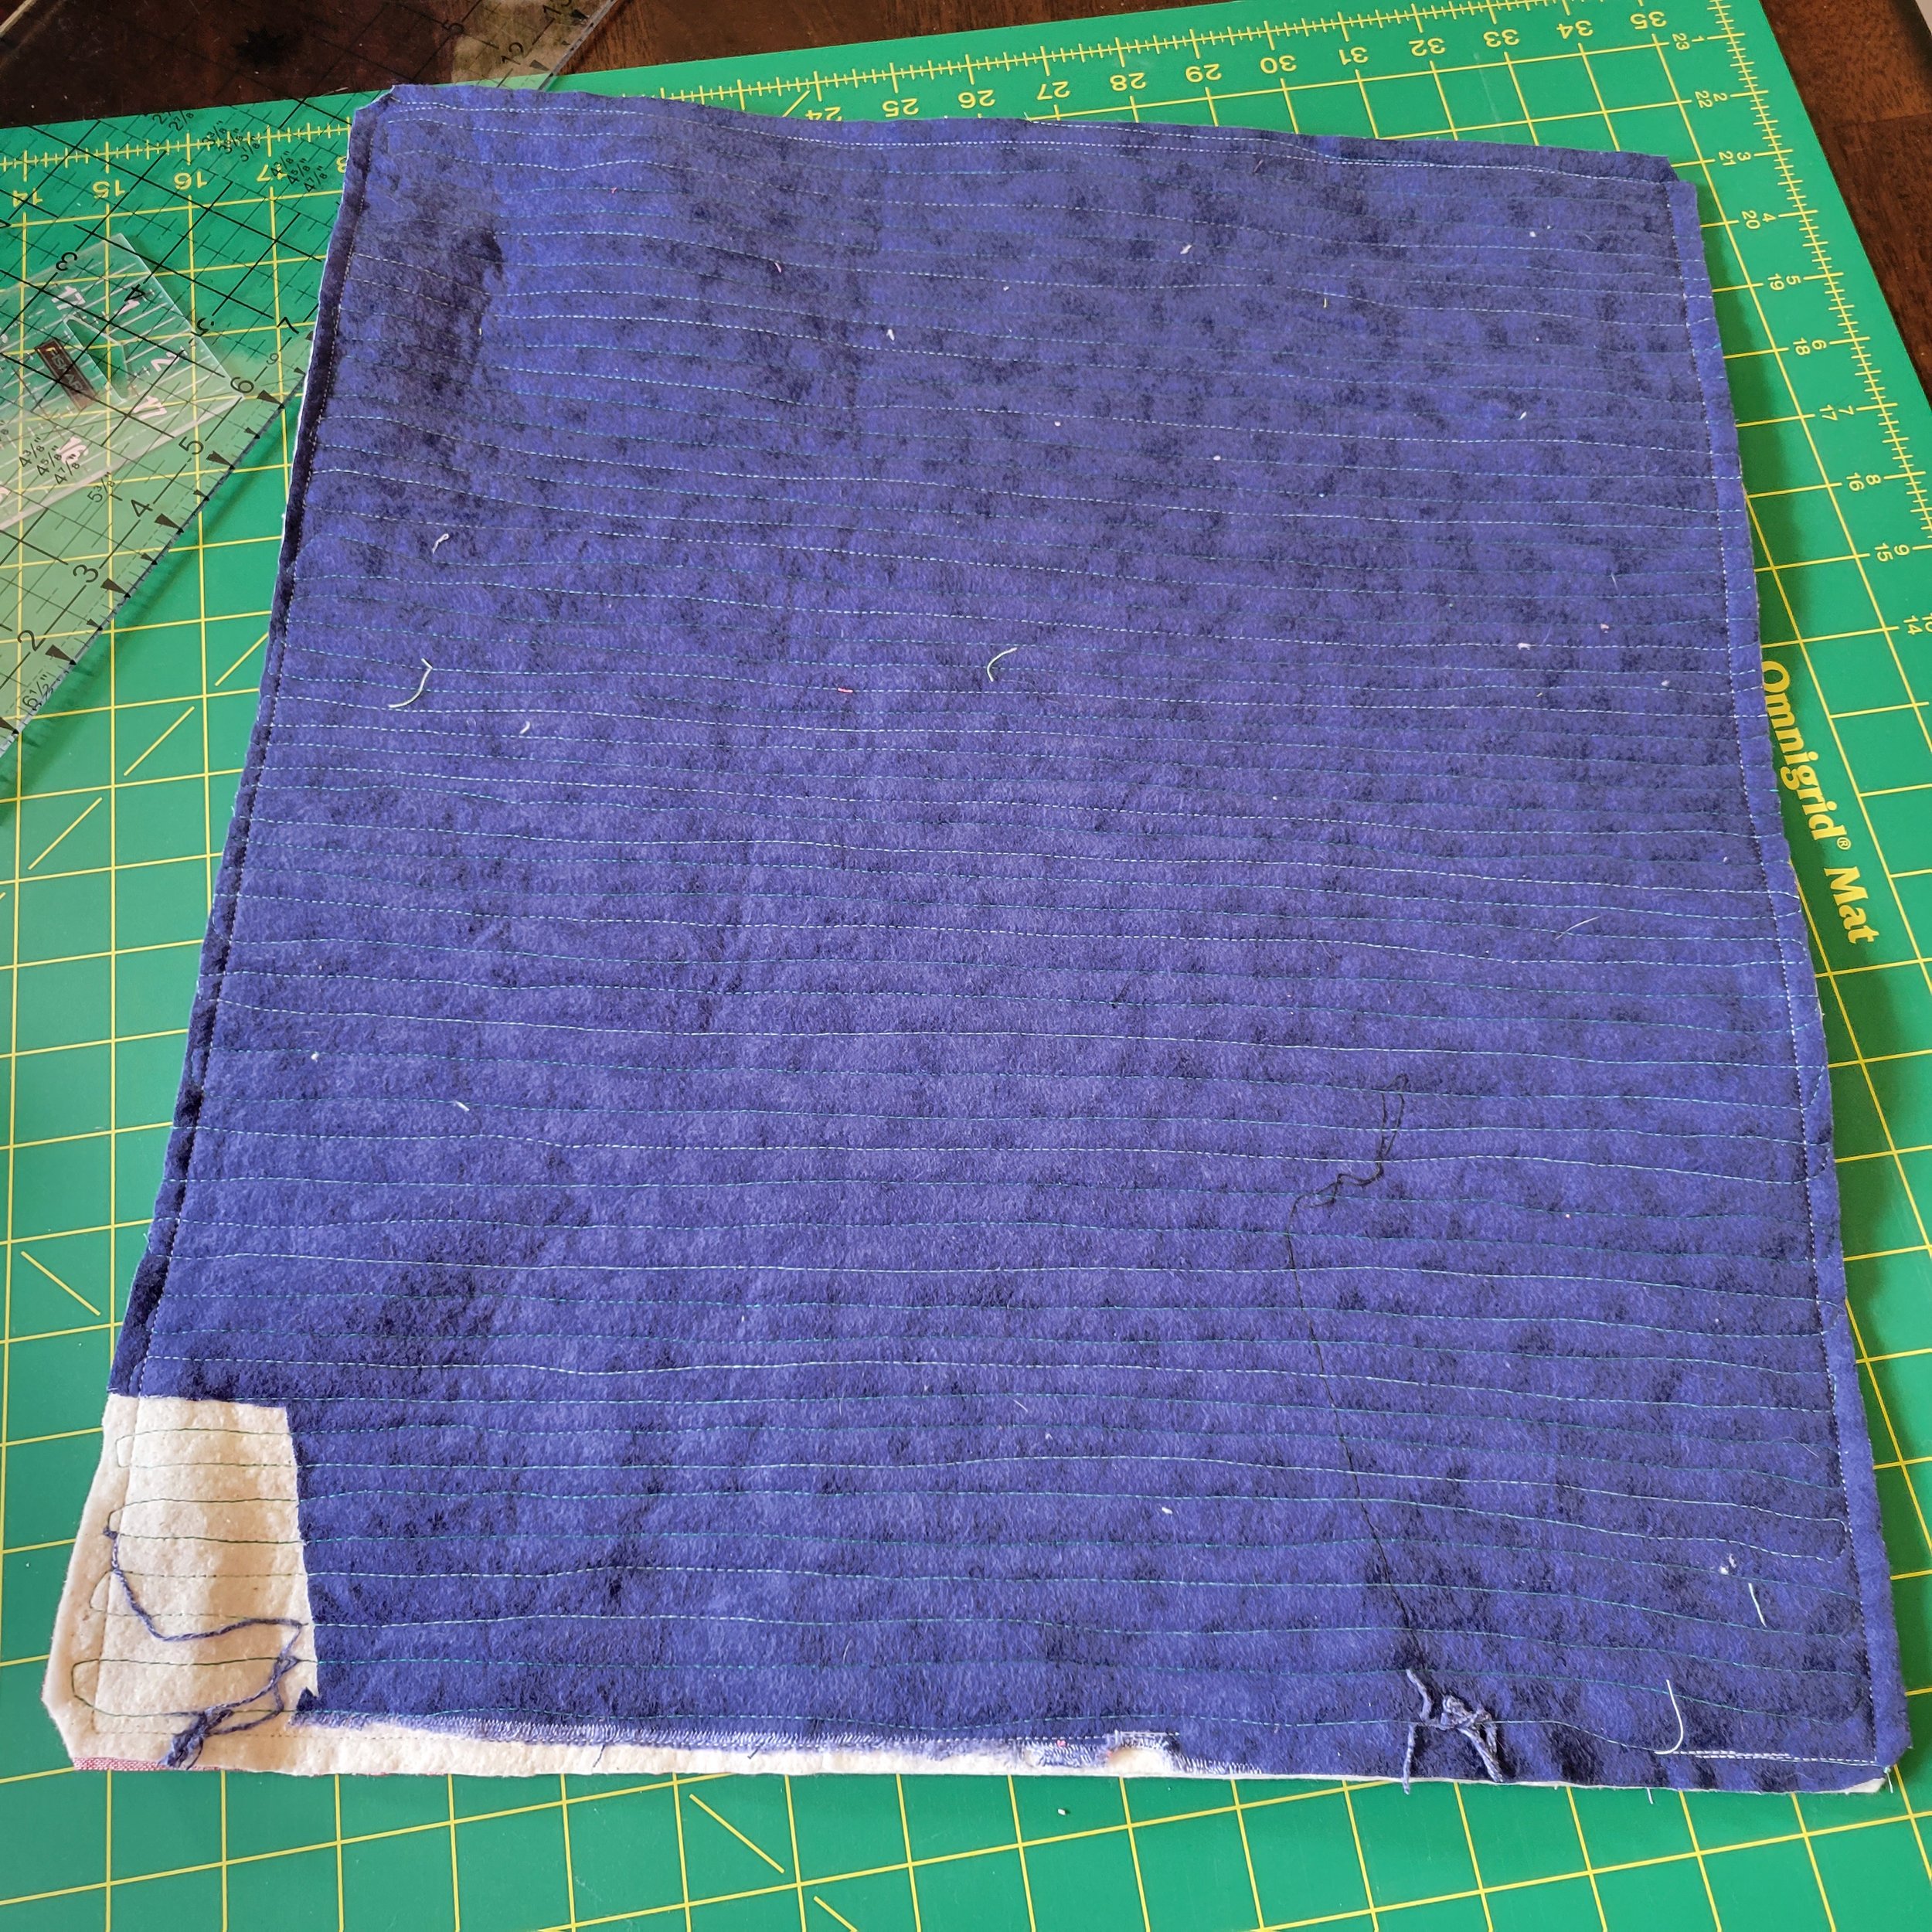
Next with the bottom of the cat mat and the quilted top (right sides facing) sew around the outside leaving a 4 inch opening for turning. After you have sewn everything, trim the edges with a quarter inch seam allowance (again hold on to the edges you cut off) and make sure you clip the corners. Then turn the cat mat right side out.
Now you have the option here of sewing up the mat and leaving it flat, but personally I like to add a little extra cushioning. It will give your cat a little something to knead and nest in more comfortably. So you can stuff the mat loosely until it is about 2 inches thick. I use the leftover edge material and other leftover batting scraps when I am stuffing because they work really well and are a great way to use those ”leftover” materials (I keep a bag on hand that gets added to everytime I square a quilt). After you have it stuffed you want to sew the opening closed. I recommend using a ladder stitch.

And that’s it! You have a finished cat mat that your furry friend can start enjoying right away. This really is an easy project that you can make in an afternoon. I have a few made in different materials for each season (wool is great in winter but it’s denim for the win in summer). This also makes a great gift for friends and family when they adopt a new cat. And don’t think this has to be exclusive to cats. You can also make one of these mats for a dog, you may just need to increase the size.
Hope you enjoy, and happy sewing!
-Siobhan