Demystifying the Mystery Quilt Along
We are already two thirds of the way through the mystery quilt along, and are starting to see the quilts come together, with only three more blocks to go! I thought this would be the perfect time to talk a little bit about what exactly goes into creating a “mystery” quilt and setting up this mystery quilt along.
Two-tone version of the Mystery Quilt
While this quilt pattern is written to be made in 4 colors, it was originally designed in just two, and began as a fun exercise in playing with different shapes. While most of the time I start with the blocks when I am designing, this quilt actually started with the overall design, beginning as a sketch with different circles, triangles, squares, diamonds and more being layered into place. Playing with simple geometric shapes is a great way to just experiment with design, negative space, and more. It happened that after going back and forth and playing with this particular design several times, I started to really like it. But how did it go from being two colors to four?
When I was first changing the colors in the quilt design I was actually trying to work on a Halloween quilt, so I had four main colors - black, purple, lime green and orange. The Halloween quilt still hasn’t made it out of the preliminary design phase, but those four colors were used on a lot of different projects for awhile, some of which are going to see the light of day (including this Mystery Quilt). Of course, when adding in two additional colors some of the design needed to be tweaked a little further so that two elements of the same color wouldn’t be next to each other (I wanted all of the elements clearly defined), but surprisingly it didn’t require that many changes to work.
However, just because the quilt worked in the Halloween colors didn’t mean that it would work in any others, so the next step was to test out a few other color schemes. One of those was the red, yellow, blue and green that became the quilt ( it reminds me of kindergarten colors). When I knew that the design really would work, the next step was establishing the “blocks.”
Had I not been designing this as a mystery quilt, I would probably have written the directions differently and focused on just making HSTs, quarter circles and such. But in this case, since I did want to do this as a quilt along, I had to figure out how to make the directions in blocks. Using some basic math (and a calendar), I was able to decide on nine, 20” square blocks which were configured based on the original design.
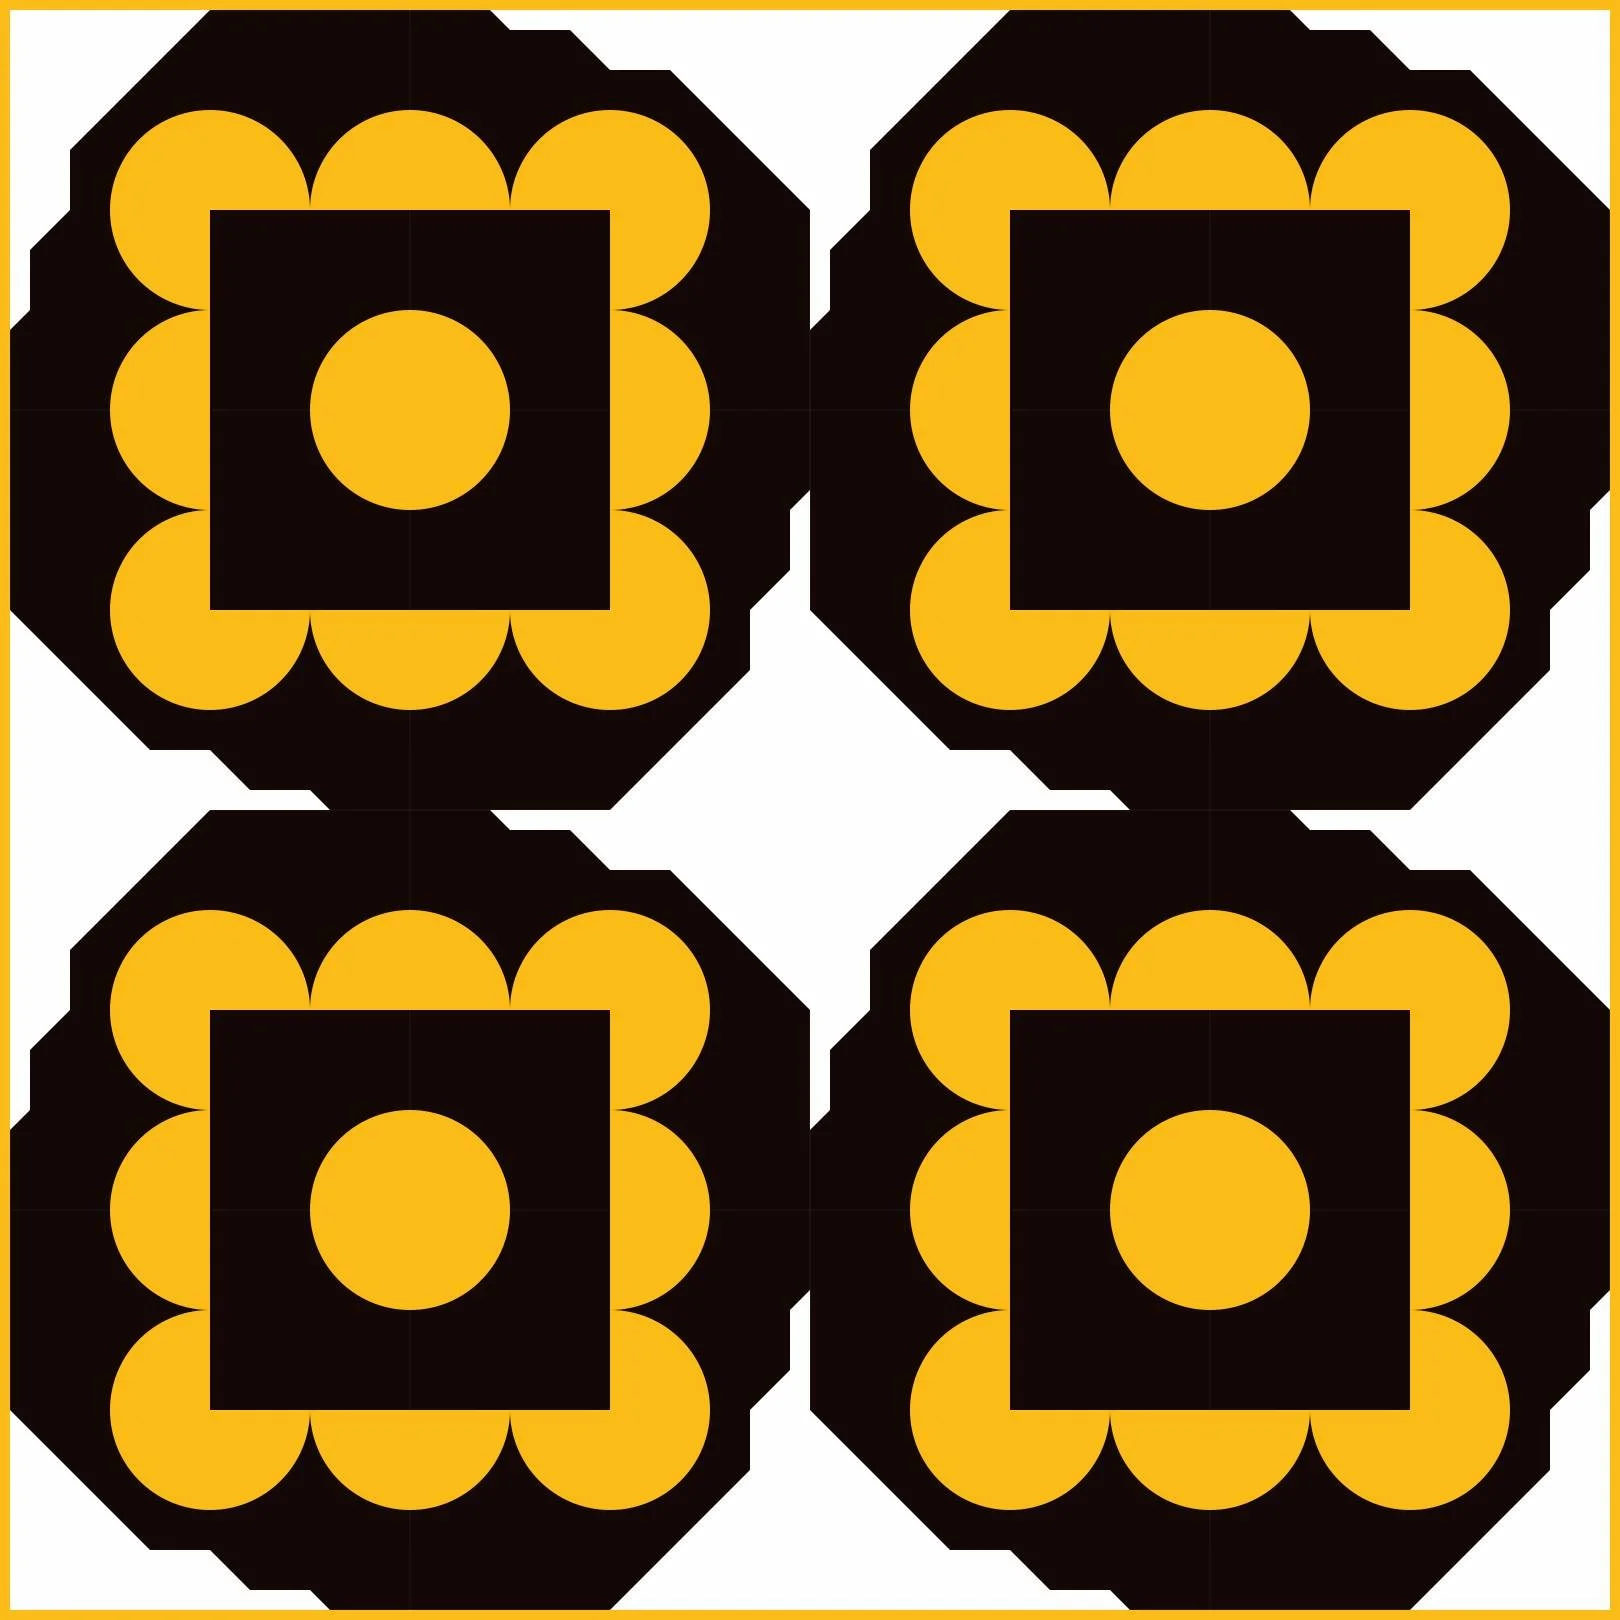
Quilt Block, alternative layout/use
When it came to putting together the Mystery Quilt Along itself I knew that I wanted to avoid some of the pitfalls I had faced when working on other mystery quilt alongs. The biggest change I made was starting the quilt along with basic cutting instructions, not enough to give away anything about the quilt design, but enough to help ensure that anyone making the quilt wouldn’t have to worry about running out of fabric near the end. The other change I made, since I was having everyone create “blocks” rather than just component parts with each set of instructions, was to include a mockup of how the block could be used by itself in a quilt design. After all, it is always nice to see how those seemingly random blocks can actually be used on their own.
If you haven’t joined the Mystery Quilt Along yet I hope that you will take the opportunity and join today, before the pattern disappears (at the end of the quilt along). This really is a great opportunity to try out new skills and experience the fun of modern quilting for yourself! I look forward to seeing everyone’s quilts.
EDIT: The Mystery Quilt Along has now ended and the pattern is not avialable in shop. However if your guild or quilt store is interested in running this mystery quilt along you can contact Siobhan at createdesignmake365@gmail.com for more information.

